How to Set Up and Use a 1inch Hardware Wallet for Secure Cryptocurrency Storage

Welcome to our step-by-step guide on how to set up and utilize a 1inch hardware wallet for safe cryptocurrency storage. In today’s digital world, securing your valuable cryptocurrencies is of utmost importance. With the increasing number of cyber threats and hacks, it is crucial to take the necessary measures to protect your assets. A hardware wallet is one of the most secure ways to store your cryptocurrencies, and 1inch offers a reliable and user-friendly option.
Why choose a 1inch hardware wallet?
1inch is a well-known and trusted brand in the cryptocurrency space. Their hardware wallet is designed with advanced security features to keep your digital assets safe from any potential threats. The device utilizes a combination of secure elements, encryption algorithms, and PIN codes to ensure the utmost protection for your private keys.
Setting up your 1inch hardware wallet
1. Unbox your 1inch hardware wallet and ensure that all the items you need are included – the device, USB cable, recovery seed cards, and instruction manual.
2. Connect the device to your computer using the USB cable. Make sure to use a trusted and secure computer free from any malware or viruses.
3. Follow the on-screen instructions to set up a new wallet. Create a strong and unique PIN code to access your device and confirm it.
4. Once your PIN code is set, the device will generate a recovery seed phrase. This is a crucial step as the seed phrase is the backup to your wallet. Write down the words on the recovery seed cards provided and keep them in a safe place.
5. Confirm the recovery seed phrase by entering the words in the correct order. This step ensures that you have correctly noted down your seed phrase and helps prevent any potential mistakes.
Utilizing your 1inch hardware wallet
1. Access your 1inch hardware wallet by connecting it to your computer and entering your PIN code.
2. Once logged in, you can use the wallet to securely manage your cryptocurrencies. The device allows you to send and receive digital assets, view your transaction history, and check your account balances.
3. To send cryptocurrencies, select the desired asset from the wallet’s interface and enter the recipient’s wallet address. Confirm the transaction details on the device’s screen and approve the transaction.
4. To receive cryptocurrencies, simply provide your wallet address to the sender. The device will display your address, which you can copy and share.
Remember to disconnect your 1inch hardware wallet from your computer when not in use and keep it in a safe and secure location. Regularly update the device’s firmware to benefit from the latest security enhancements and features provided by 1inch.
By following this step-by-step guide, you can ensure the safe storage and utilization of your digital assets using a 1inch hardware wallet. Protect your cryptocurrencies and have peace of mind knowing that your funds are secure.
Step 1: Initial Setup of 1inch Hardware Wallet
Setting up a hardware wallet is a crucial step in ensuring the safe storage of your cryptocurrencies. The 1inch hardware wallet provides an extra layer of security by storing your private keys offline, away from potential online threats. The initial setup process is simple and can be done in a few easy steps.
1. Check the Package Contents
Before starting the setup process, make sure you have received all the necessary components in the package. The 1inch hardware wallet package typically includes:
| 1 | 1inch hardware wallet device |
| 1 | USB cable |
| 1 | Recovery sheet (used for writing down your seed phrase) |
| 1 | Quick start guide |
| 1 | Protective case (optional) |
2. Connect the Hardware Wallet
Connect the 1inch hardware wallet device to your computer using the provided USB cable. Ensure that the device is securely connected and powered on.
3. Install the Wallet Software
Visit the official 1inch website and download the compatible wallet software for your operating system. Follow the instructions provided on the website to install the software on your computer.
4. Create a New Wallet
Once the software is installed, open it and select the option to create a new wallet. Follow the prompts to set up a new wallet on your computer.
5. Set Up a Strong Password
During the wallet creation process, you will be prompted to set up a strong password. Choose a password that is unique and difficult to guess. Remember to keep your password secure and avoid sharing it with anyone.
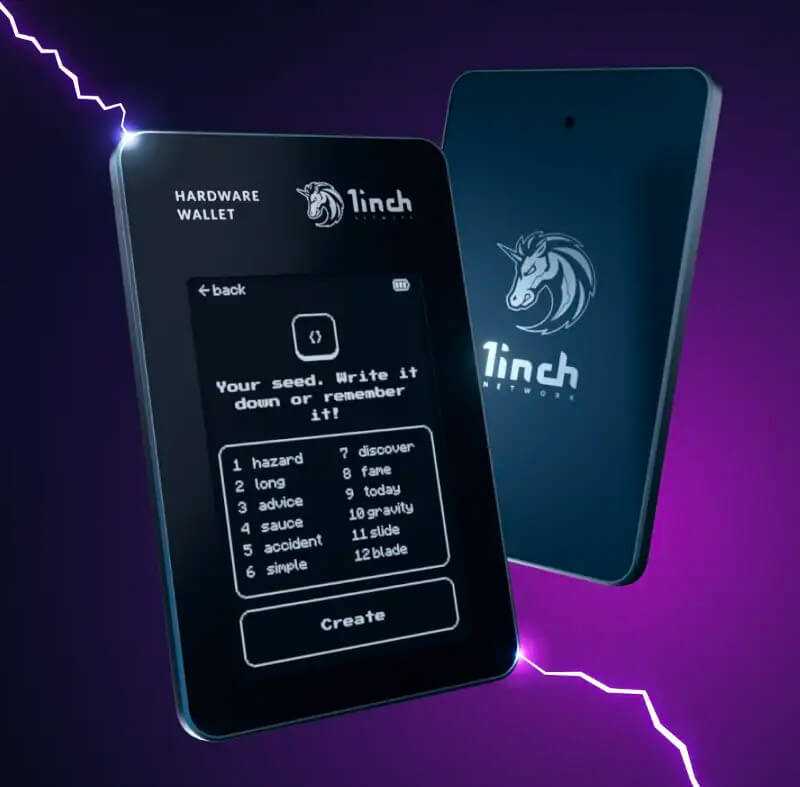
6. Backup Your Seed Phrase
After setting up a password, you will be given a unique seed phrase. This seed phrase is crucial for recovering your wallet in case of loss or damage. Write down the seed phrase on the provided recovery sheet and store it in a safe place.
Once these steps are completed, your 1inch hardware wallet is ready to be used for securely storing and managing your cryptocurrencies.
Step 2: Transferring Cryptocurrency to your 1inch Hardware Wallet
Once you have set up your 1inch hardware wallet and ensured its security measures, it’s time to transfer your cryptocurrency to it for safe storage. Follow the steps below to complete this process:
1. Launch the 1inch Wallet App
Open the 1inch Wallet app on your device. Ensure that the app is connected to the internet and that your hardware wallet is properly connected to your device.
2. Access your Wallet
When the app is launched, you will be prompted to enter your hardware wallet’s PIN or any other authentication method required by your specific hardware wallet model. Enter the necessary information to unlock your wallet.
3. Choose the Cryptocurrency to Transfer
After accessing your wallet, you will see a list of supported cryptocurrencies. Select the cryptocurrency you want to transfer from the available options.
4. Enter the Transfer Details
Enter the recipient wallet address to which you want to transfer your cryptocurrency. Pay close attention to ensure that you are entering the correct address to avoid any loss of funds. Additionally, specify the amount of cryptocurrency you want to transfer.
5. Confirm the Transaction
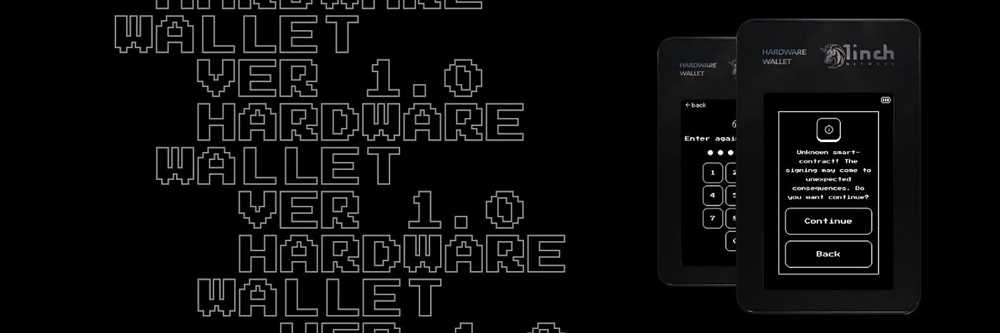
Review the transfer details carefully to ensure accuracy. Once you are sure that all the details are correct, confirm the transaction on your hardware wallet. Follow any instructions prompted by the hardware wallet’s screen or buttons.
Note: Transactions on blockchain networks are generally irreversible, so it is crucial to double-check the recipient wallet address and transfer details.
6. Wait for Confirmation
After confirming the transaction, you will need to wait for the network to confirm and validate the transfer. This process can take a few minutes or longer, depending on the network’s congestion and the specific cryptocurrency being transferred.
7. Verify the Transfer
Once the transfer is confirmed, you can verify its completion by checking the transaction details on the blockchain explorer for the respective cryptocurrency. This will provide you with the assurance that your cryptocurrency has been successfully transferred to your 1inch hardware wallet.
By following these steps, you can securely transfer your cryptocurrency to your 1inch hardware wallet for safe storage. It is important to exercise caution and double-check all the transfer details to prevent any loss of funds during the process.
Step 3: Utilizing the 1inch Hardware Wallet for Safe Storage
Now that your 1inch hardware wallet is set up and ready to go, it’s time to start using it for safe cryptocurrency storage. Follow the steps below to get started:
1. Connect your 1inch hardware wallet to your computer
Using the USB cable provided with your 1inch hardware wallet, connect it to your computer’s USB port. Make sure the wallet is securely connected before proceeding to the next step.
2. Open the 1inch wallet software
Once your hardware wallet is connected, open the 1inch wallet software on your computer. The software should automatically detect your hardware wallet and prompt you to enter your PIN and verify your identity.
3. Access your cryptocurrency accounts
Once you’ve successfully entered your PIN and verified your identity, you will be able to access your cryptocurrency accounts through the 1inch wallet software. The software will display all the supported cryptocurrencies and their respective balances.
4. Send and receive cryptocurrencies
To send cryptocurrencies, simply select the desired cryptocurrency from your account balance and enter the recipient’s wallet address. Follow the instructions provided by the 1inch wallet software to complete the transaction securely.
To receive cryptocurrencies, you can generate a receiving address by selecting the cryptocurrency you want to receive and clicking on the “Receive” button. Share the generated address with the sender to receive funds securely.
5. Enable additional security features
The 1inch hardware wallet offers additional security features, such as passphrase encryption and multi-factor authentication. You can enable these features through the wallet software to further enhance the security of your cryptocurrencies.
Remember to always keep your 1inch hardware wallet disconnected from your computer when not in use and keep your PIN and recovery passphrase in a safe place. By following these steps and taking necessary precautions, you can ensure safe storage of your cryptocurrencies using the 1inch hardware wallet.
Question-answer:
What is a hardware wallet and why is it important for cryptocurrency storage?
A hardware wallet is a physical device that securely stores the private keys needed to access and manage your cryptocurrency. It is important because it provides an additional layer of security by keeping the private keys offline and protected from potential hacking or malware attacks.
How do I set up a 1inch hardware wallet?
To set up a 1inch hardware wallet, you need to first purchase a compatible hardware wallet device, such as a Ledger or Trezor. Then, you can follow the manufacturer’s instructions to set up the device and generate a new wallet address. Finally, you can connect your hardware wallet to the 1inch platform by following the provided steps.