
Welcome to our step-by-step guide on how to buy 1inch, a decentralized exchange aggregator and Liquidity Protocol token. If you’re new to the world of cryptocurrency, don’t worry! We will walk you through the process of purchasing 1inch in a few easy steps.
Before we get started, it’s important to understand that 1inch is an ERC-20 token built on the Ethereum blockchain. This means that you will need an Ethereum wallet to store your 1inch tokens. If you don’t already have one, we recommend using popular options like MetaMask or MyEtherWallet.
Step 1: Set up your Ethereum wallet
The first step to buying 1inch is setting up your Ethereum wallet. Go to the official website of your chosen wallet provider and follow the instructions to create a new wallet. Make sure to securely store your wallet’s private key or seed phrase as it is essential for accessing your funds.
Step 2: Get some Ether (ETH)
To buy 1inch, you will need to exchange your fiat currency or other cryptocurrencies for Ether (ETH) first. You can do this by using a centralized exchange, such as Coinbase or Binance, or through a decentralized exchange, like Uniswap or SushiSwap. Follow the instructions provided by your chosen exchange to deposit funds and purchase Ether.
Step 3: Connect your wallet to a decentralized exchange
Once you have Ether in your wallet, you can now connect it to a decentralized exchange that supports 1inch trading pairs. Examples of popular decentralized exchanges that support 1inch include Uniswap and 1inch itself. Open the exchange platform of your choice and connect your Ethereum wallet by clicking on the wallet icon and selecting your wallet provider.
Step 4: Swap Ether for 1inch
Now that your wallet is connected, you can start swapping your Ether for 1inch. On the exchange platform, search for the 1inch trading pair you want to trade with (e.g., ETH/1INCH). Enter the amount of Ether you want to swap for 1inch and review the transaction details. If everything looks good, approve the transaction and confirm the swap.
Step 5: Check your wallet
After completing the swap, give the transaction some time to be processed on the blockchain. Once the transaction is confirmed, you will be able to see your newly acquired 1inch tokens in your Ethereum wallet. Congratulations, you have successfully bought 1inch!
Remember to always do your own research and exercise caution when buying cryptocurrencies. Prices can be highly volatile, and it’s important to only invest what you can afford to lose. Happy trading!
Step-by-Step Guide on Buying 1inch
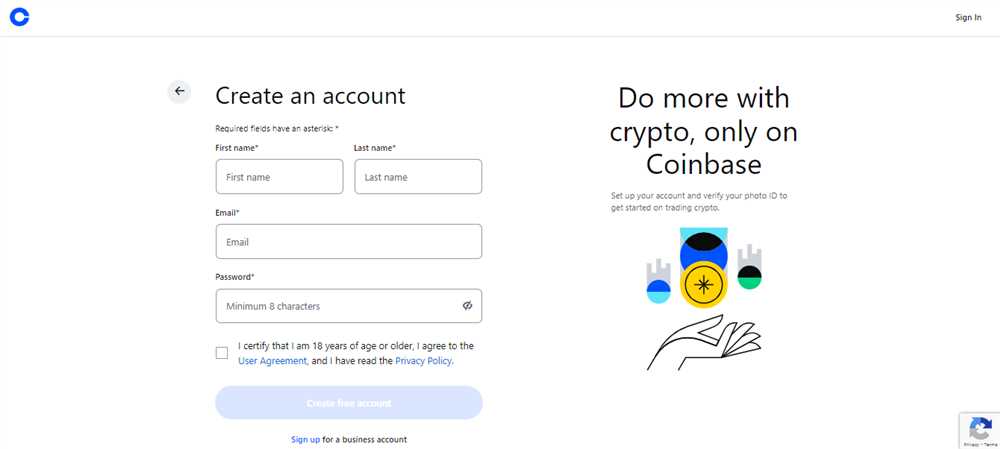
1. Create an account on a reputable cryptocurrency exchange platform. Some popular options include Binance, Coinbase, and Kraken. Provide the necessary information to verify your identity, such as your name, email address, and phone number.
2. Complete the necessary security steps, such as enabling two-factor authentication (2FA) and setting up a strong password for your account. This will help protect your funds and personal information.
3. Deposit funds into your exchange account. You can typically do this by selecting the deposit option and choosing the desired currency or cryptocurrency to deposit. Follow the provided instructions to complete the deposit process.
4. Search for 1inch within the exchange platform. Once you find it, select the trading pair you want to use to buy 1inch. Common trading pairs include 1inch/USD, 1inch/BTC, and 1inch/ETH.
5. Set the amount of 1inch you want to purchase and review the current market price. Some exchanges offer advanced trading options, such as limit orders and stop losses, which can be useful for more experienced traders.
6. Review your order details and confirm the purchase. Double-check the quantity of 1inch you’re buying and the total cost in your desired currency. Make sure you have enough funds available in your account to cover the transaction.
7. Once your purchase is complete, you will see the 1inch tokens in your exchange account. You can choose to leave them there for trading purposes or withdraw them to a personal wallet for added security. Keep in mind that transaction fees may apply for withdrawals.
Important: Always do thorough research before investing in any cryptocurrency. Prices can be highly volatile, and it’s essential to understand the risks involved. Consider consulting with a financial advisor if you’re unsure about investing in 1inch or any other cryptocurrency.
Conclusion
Buying 1inch can be a relatively straightforward process if you follow these steps. Remember to choose a reputable exchange platform, secure your account, and carefully review your purchase before confirming. Stay informed about the latest market trends and developments in the cryptocurrency space to make well-informed investment decisions.
Choose a Reliable Crypto Exchange
When buying 1inch, it’s important to choose a reliable and trustworthy cryptocurrency exchange. With the growing popularity of cryptocurrencies, there are numerous exchanges available, each with its own features and benefits. Here are a few key factors to consider when selecting an exchange:
1. Reputation and Security
Ensure that the exchange you choose has a good reputation and a track record of security. Look for exchanges that have not experienced any major security breaches in the past and have implemented robust measures to protect user funds.
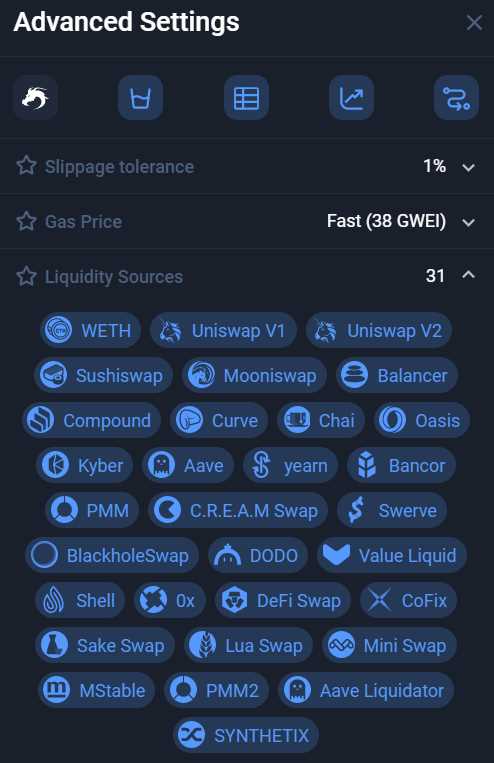
2. Liquidity
Liquidity refers to the ability to easily buy and sell assets without significantly affecting their market price. Choose an exchange that has high liquidity for 1inch, as this will ensure that you can execute your trades quickly and at fair prices.
3. User Interface and Experience
Consider the user interface and overall experience offered by the exchange. A user-friendly platform with intuitive navigation and clear instructions will make it easier for you to buy 1inch.
4. Supported Payment Methods
Check the supported payment methods of the exchange. Ensure that the exchange accepts your preferred payment method, whether it’s credit/debit cards, bank transfers, or cryptocurrencies.
5. Fees and Limits
Compare the fees and limits imposed by different exchanges. Some exchanges may have higher fees or lower trading limits, which could impact your buying strategy. Look for exchanges that offer competitive fees and reasonable limits.
| Exchange | Reputation | Liquidity | User Interface | Payment Methods | Fees |
|---|---|---|---|---|---|
| Exchange A | Good | High | User-friendly | Credit/debit cards, bank transfers, cryptocurrencies | Competitive |
| Exchange B | Excellent | Medium | Intuitive | Cryptocurrencies | Low |
| Exchange C | Fair | Low | Complex | Bank transfers, cryptocurrencies | High |
By considering these factors and comparing different exchanges, you can choose a reliable crypto exchange that suits your needs and enables you to buy 1inch with ease.
Create an Account and Complete Verification
To buy 1inch, you’ll need to create an account on a cryptocurrency exchange that supports this token. Follow these steps to get started:
Step 1: Choose a Cryptocurrency Exchange
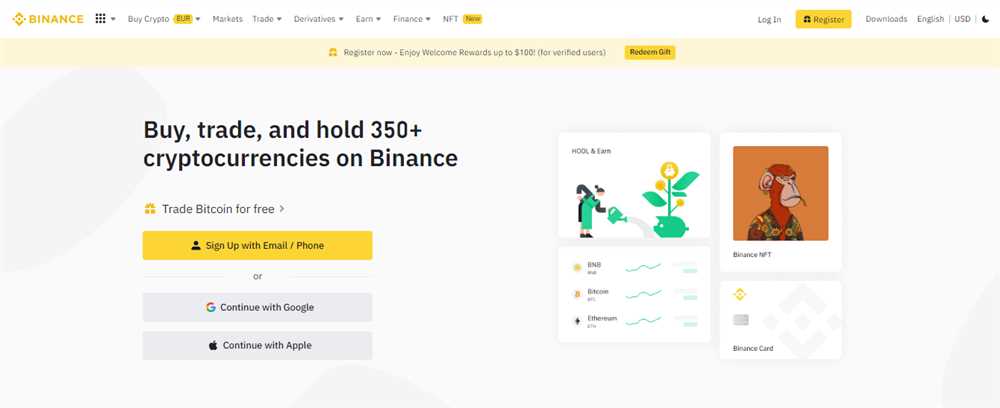
There are several reliable cryptocurrency exchanges where you can buy 1inch, such as Binance, Coinbase, and Kraken. Research different exchanges and choose the one that best fits your needs in terms of security, fees, and available payment methods.
Step 2: Sign Up for an Account
Once you’ve chosen an exchange, go to their website and sign up for an account. Click on the “Sign Up” or “Register” button and fill in the required information, including your email address and password. Make sure to choose a strong password to protect your account.
Step 3: Complete Verification
Most cryptocurrency exchanges require users to complete a verification process to comply with Know Your Customer (KYC) regulations. This typically involves providing your personal information and uploading some identification documents, such as a passport or driver’s license.
Go to the “Verification” or “Account Settings” section of your chosen cryptocurrency exchange’s website. Follow the instructions and provide the requested information. Make sure to double-check all the details before submitting the documents. Verification can take a few minutes to several days, depending on the exchange.
| Tips: |
|---|
| Ensure that all the information you provide is accurate and matches the details on your identification documents. |
| Take clear and high-quality photos of your identification documents to expedite the verification process. |
| Check the exchange’s verification requirements and guidelines beforehand to avoid any delays or issues. |
Once your verification is successfully completed, you’ll be able to access all the features of the cryptocurrency exchange, including buying, selling, and trading 1inch.
Fund Your Account with Fiat or Crypto
To start buying 1inch, you will need to fund your account with either fiat currency or cryptocurrency. Here are the steps to fund your account:
1. Fiat Currency:
If you prefer to use fiat currency, you will first need to link your bank account to your trading platform. This will usually involve providing your bank account details, verifying your identity, and completing any necessary KYC (Know Your Customer) requirements. Once your bank account is linked, you can transfer funds from your bank account to your trading account. The specific process may vary depending on the trading platform you are using.
Note: Some platforms may also allow you to fund your account with credit or debit cards.
2. Cryptocurrency:
If you prefer to use cryptocurrency, you will need to have a crypto wallet and some cryptocurrency funds. You can purchase cryptocurrency from a crypto exchange using fiat currency, or you can receive cryptocurrency from someone else. Once you have the necessary cryptocurrency funds, you can transfer them to your trading account. The specific process may vary depending on the trading platform you are using, but it typically involves generating a wallet address and initiating a transfer from your wallet to the trading platform.
Note: Make sure you double-check the wallet address before initiating the transfer to avoid any mistakes.
Once your account is funded with either fiat or cryptocurrency, you can proceed to buy 1inch tokens. It’s important to note that the process may vary depending on the trading platform and the specific steps mentioned above should be used as a general guide.
Place an Order to Buy 1inch Tokens
Buying 1inch tokens is a straightforward process that can be done through a decentralized exchange (DEX) such as 1inch. Follow the steps below to place an order and acquire your desired amount of 1inch tokens:
Step 1: Create a Wallet
Before you can buy 1inch tokens, you need to have a cryptocurrency wallet that supports the ERC-20 standard. You can choose from a variety of wallets such as MetaMask, Trust Wallet, or MyEtherWallet. Create a new wallet or import your existing wallet address.
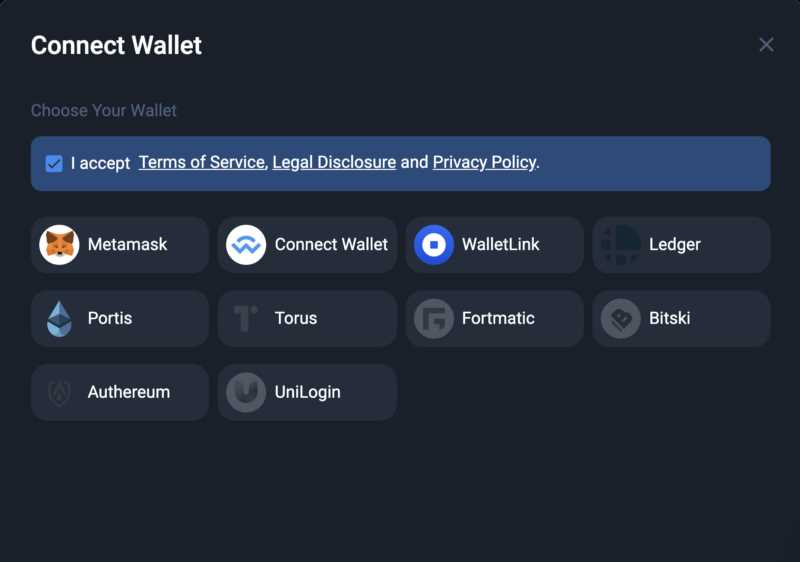
Step 2: Connect your Wallet to 1inch
Once you have a wallet, visit the 1inch website and connect your wallet by clicking on the “Connect Wallet” button. Select your wallet provider and follow the prompts to connect your wallet to the 1inch platform.
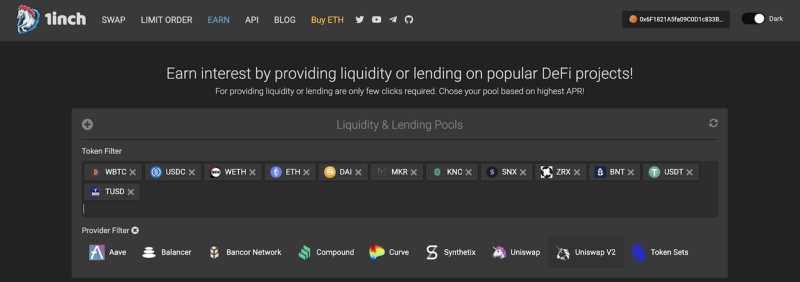
Step 3: Find the 1inch Token
After connecting your wallet, navigate to the trading interface on the 1inch platform. In the search bar, type “1inch” to find the 1inch token. Click on the 1inch token to select it for trading.
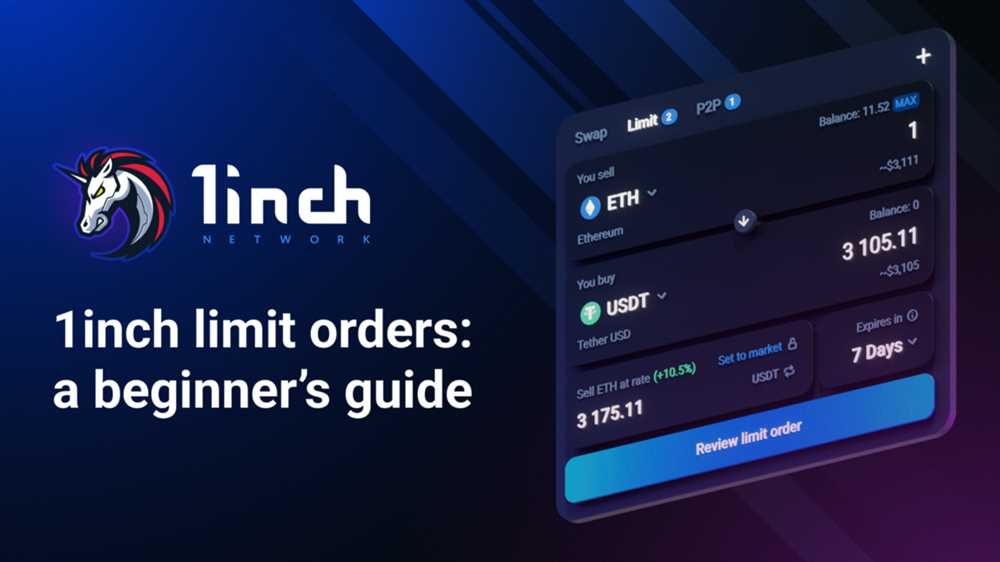
Step 4: Input Order Details

Once you have selected the 1inch token, you will be presented with the trading interface. Input the details of your order, including the amount of 1inch tokens you want to buy and the price you are willing to pay. You can choose from various order types such as market orders or limit orders.
Step 5: Review and Confirm
After inputting your order details, review the order summary to ensure everything is correct. Double-check the amount of 1inch tokens and the total cost of the transaction, including any fees. When you are ready, click on the “Confirm” button to proceed with the order.
Step 6: Approve and Execute the Order
Once you confirm the order, you will need to approve the transaction through your wallet. Follow the prompts on your wallet interface to review and approve the transaction. Once the transaction is approved, the order will be executed on the 1inch platform, and your 1inch tokens will be sent to your wallet address.
Congratulations! You have successfully placed an order to buy 1inch tokens. Make sure to keep your wallet secure and consider storing your tokens in a hardware wallet for added security.
Question-answer:
What is 1inch?
1inch is a decentralized exchange (DEX) aggregator that provides the best prices and lowest gas fees for trading across multiple decentralized exchanges.
Which exchanges support trading 1inch?
1inch is supported by several popular exchanges, including Binance, Coinbase, Kraken, and KuCoin. However, it’s important to check if the exchange you plan to use supports 1inch trading before proceeding.
What is the current price of 1inch?
The current price of 1inch can be found on popular cryptocurrency tracking websites, such as CoinMarketCap or CoinGecko. It’s important to note that the price of 1inch can fluctuate rapidly, so it’s always a good idea to check the latest price before making a purchase.
Are there any fees associated with buying 1inch?
Yes, there are typically fees associated with buying 1inch tokens. These fees can vary depending on the exchange you use and the amount of tokens you purchase. It’s important to review the fee structure of the exchange you plan to use before making a purchase.